One of the biggest pain points I’ve had with GridPane is migrating existing sites from Cloudways and cPanel. GridPane structures things a little differently than CW and cPanel, so simply creating a backup of a site with Updraft, BackupBuddy or another backup plugin and then restoring it to the GridPane managed server doesn’t always work. In my case it frequently failed, requiring some extra work on my part to get the site up and working.
Cloudways has it’s own migration tool built into the dashboard that works 99% of the time. And GridPane does have an SSH script available by contacting support, but you have to be “comfortable” with SSH to use it… it can blow up pretty easy if you don’t do it right. However, when used correctly it’s fantastic.
After trying numerous plugins, I decided to do it manually via WP-CLI and I’ve had the best success that way.
My WP-CLI migration process
- Update WordPress and all plugins/themes on the site to be moved.
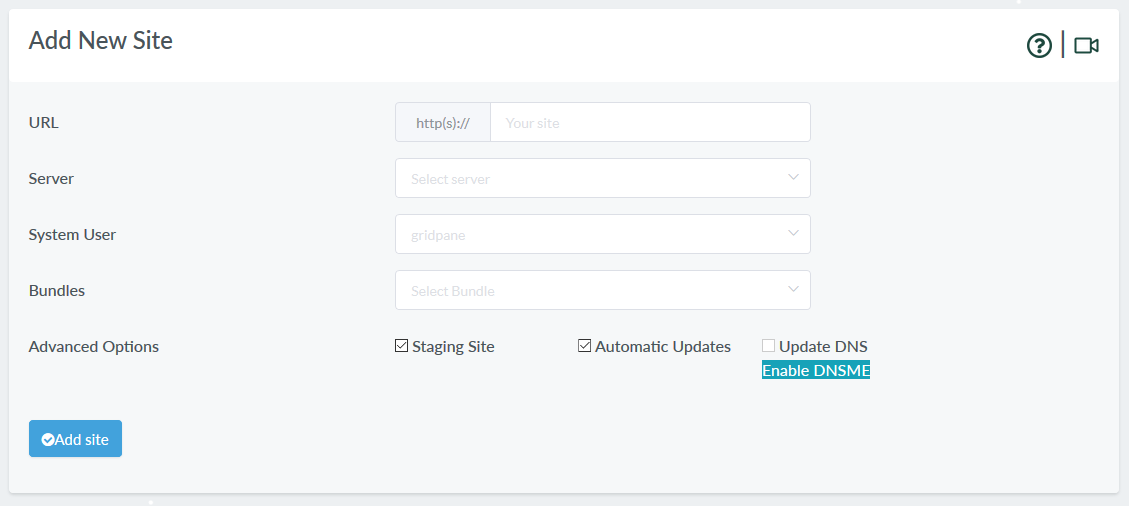
- Create a new site in the GridPane dashboard with the same name as the target site. So, if I am migrating “example.tld”, I create a new site in GridPane called “example.tld”. This creates a new blank WordPress site.
- I access the old server via SSH and run “wp db export –add-drop-table” to export the entire WordPress database to the WordPress folder.
- I access the old server via SFTP and download the wp-config.php file, the exported SQL file and the “wp-content” folder to my laptop.
- I edit the downloaded wp-config.php file and note the $table_prefix setting.
- I access the new server via SFTP and upload the SQL file and “wp-content” folder to the “/htdocs” folder.
- I access the new server via SSH and I run “wp db clean –yes” to remove everything from the default GridPane WordPress install.
- I download and edit the GridPane wp-config.php file, updating the $table_prefix if necessary, then re-upload it to the GridPane server.
- I access SSH and run “wp db import” with the name of the SQL file I uploaded.
- I update DNS to point the domain to the GridPane server and wait…
- Once DNS has updated, I activate SSL in the GridPane dashboard.
- Don’t forget to delete the SQL file.
One little trick I learned is that when I have access to DNS, I change the TTL to 15 minutes so that I only have to wait 15 minutes for DNS to update along the chain, instead of an hour or two.
I printed this up and stuck it on the wall next to my desk and so far it’s the easiest way I have found to migrate a site from cPanel or CloudWays to GridPane. One problem I ran into is that if you are using WordFence on the old site/server. Deactivate it and remove it before you start. WordFence is not happy with wp-config.php not being in the default WordPress folder if it starts up without a new activation. However, after the site is successfully migrated, you can install it and it will work fine. Whatever you do… DO NOT clone a site with WordFence installed and active on GridPane… WordFence will mess itself and prevent the cloned site from working.
If you need to migrate a site and have the client test it first, GridPane suggests using a third-party proxy web site or have the user modify their HOSTS file. Most of my clients don’t know how to do that or they are prevented from doing it via “corporate security”. In that case, I will migrate the site to their domain, clone it to “client.mydomain.tld” and give them that link to test the site. Once approved, I’ll delete their site/domain and clone “client.mydomain.tld” back to the client’s domain. It’s a few extra steps, but that should be easier once GridPane supports changing the primary domain in their dashboard.

